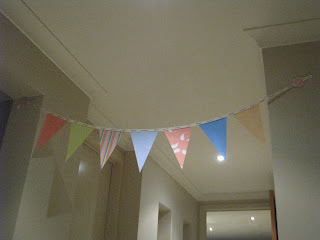
What got me onto the idea was when I came across an interior design blog where a lady had used cuttings from furniture and home magazines to make the coloured triangles and stuck them onto a white slightly-larger triangle and then sewed each triangle onto a length of ribbon - genius! Because I didn't have any magazines to cut out I went one step further and opened up some of the free digital paper downloads I had
I then measured the rooms where the banners would hang and worked out how the spacing of the triangles would work. I needed a total of 9.2m of banners (made up of 3 separate banners each with extra length on each end) and calculated that I needed to have a space approx 1 inch between each triangle.
For my first attempt - which I did on the shortest length of banner - I used double sided tape to position the triangles onto the ribbon, then straight stitched down the middle of the ribbon using the sewing machine to permanently attach the paper to the ribbon.
It worked no problems but it took a while sticking them on, so I decided to give it a go of just sewing and spacing as I went. It was a little more tricky to get even spacings (but they are near enough and who's going to get out their measuring tape to check?) and it was harder to hold the ribbon taught (or in the case of the second and third banners I used bias binding because both were longer than 3m which was the maximum length of ribbon I had) with no paper underneath while accurately lining up the next triangle. But it saved some time and it worked so I stuck with it (just don't look too closely at the sewing).
All up from printing to finished product it took about 4 hours to make my 3 banners with a total length of 9.2 metres. I gave the shortest length to the guests of honour to take with them, but the 2 larger ones I'm going to keep for any future celebrations. I cut some matching flowers (that I printed from the kits) to hide the blu-tac on the ends of the ribbon.


Terrific fun idea.
ReplyDelete